Defining basic information
Define basic information of a grid generating program. Create a file with the content shown in List 14, and save it with name "definition.xml" under "example" folder that you created in Creating a folder.
 1<?xml version="1.0" encoding="UTF-8"?>
 2<GridGeneratorDefinition
 3  name="samplecreator"
 4  caption="Sample Grid Creator"
 5  version="1.0"
 6  copyright="Example Company"
 7  executable="generator.exe"
 8  gridtype="structured2d"
 9>
10  <GridGeneratingCondition>
11  </GridGeneratingCondition>
12</GridGeneratorDefinition>
At this point, the structure of the grid generating program definition file is as shown in Figure 27.

Figure 27 Grid generating program definition file structure
Now make sure the grid generating file definition file is arranged correctly.
Launch iRIC. The [iRIC Start Page] dialog (Figure 28) is shown, so click on [New Project]. Now the [Solver Select] dialog (Figure 29) will open, so select "Nays2DH" in the solver list, and click on [OK]. The new project will start.
Open the [Select Grid Creating Algorithm] dialog (Figure 30) by processing the following action.
Menu bar: [Grid] (G) -> [Select Algorithm to Create Grid] (S)
Check that the "Sample Grid Creator" is added in the list. When you finish checking, close the dialog by clicking on [Cancel].

Figure 28 The [iRIC Start Page] dialog
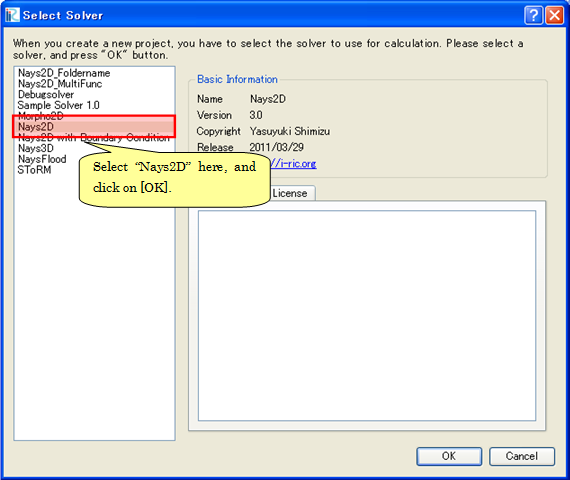
Figure 29 The [Select Solver] dialog
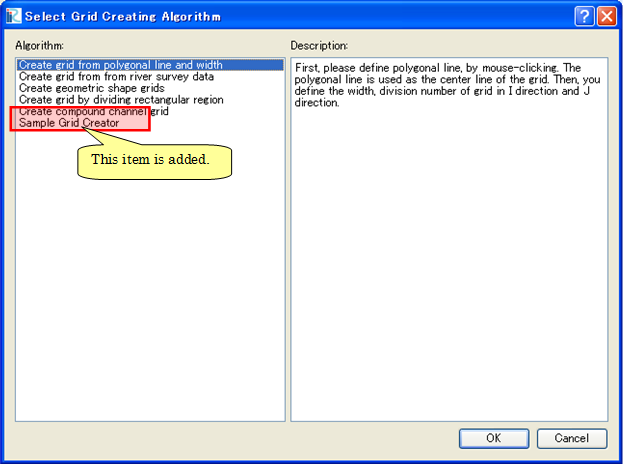
Figure 30 The [Select Grid Creating Algorithm] dialog