Registering file to Repository for iRIC installer build
Abstract
iRIC project uses we service github for managing the files to publish through iRIC offline installer, and online update.
Solver developer can do the following things by registering the files for your newest solvers, to github:
Update the solver that is going to be bundled to offline installer, that is going to be built next time.
Make iRIC users who have already installed iRIC can get the newest solver through online update, using menu [Option] -> [Maintainance].
In this section the procedure to register the files for newest solver to github.
Procedure
Solver developer can register the files through the procedure below:
Install Subversion client software (needed only for the first time)
Get the folder from server (checkout)
Copy new files
Register new files to server (commit)
You can register files through two verson management systems: Subversion and git. In this document, the way to use Subversion is described, because it is more simple than git.
The detail of the procedure is described below:
Install Subversion client software (needed only for the first time)
Install
Install the client software for Subversion. In this procedure, we adopt TortoiseSVN, that is the de facto standard Subversion client for Windows.
Access the following URL, and download the installer for TortoiseSVN.
https://tortoisesvn.net/downloads.html
On the page there are two buttons for downloading installer: One for 32bit OS, another for 64bit OS. Please download the installer that is suitable your environment.
When installer finished installing, restart Windows.
Setting
If you use an environment where you need to access internet through Proxy server, Please setup the setting in the procedure below:
Select the menu below, from the right-clicking menu of explorer:
TortoiseSVN –> Settings
The Setting dialog is shown. Please select “Network” in the tree view shown in the left side of the dialog, and page like Figure 74 is shown. Setup the setting to fit your environment, and click on [OK] button.
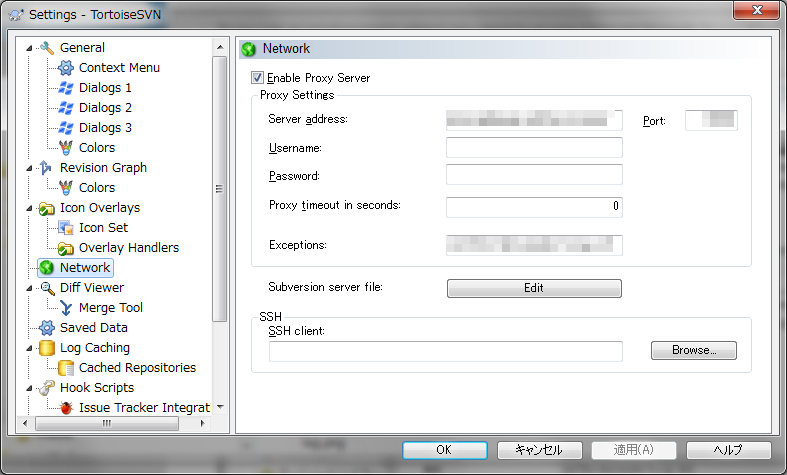
Figure 74 [TortoiseSVN Setting] dialog
Get the folder from server (checkout)
Checkout the folder, that stores the solver you want to update, that is a subfolder of the following URL:
https://github.com/i-RIC/online_update.git/trunk/dev_src/packages
For example, in case of FaSTMECH, please checkout the following URL:
https://github.com/i-RIC/online_update.git/trunk/dev_src/packages/solver.fastmech
In the procedure below, the way to get the folder for FaSTMECH is shown.
Create folder
Create the folder in which you are going to save files you get from the server.
In this example, we create a folder e:tmpfastmech.
Get the folder from server
Get the folder from server, using TortoiseSVN.
On the explorer, select the folder that you’ve created in the step above, and select the folloing menu from the right-clicking menu:
SVN Checkout
Then, the dialog in Figure 75 is shown.
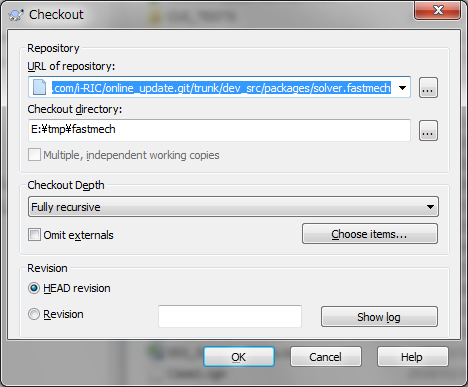
Figure 75 The dialog to checkout files
In the text box next to [ポジトリのURL], input the following URL.
https://github.com/i-RIC/online_update.git/trunk/dev_src/packages
Then, click on the button with caption […] next to the text box. Then, the dialog in Figure 76 is shown.
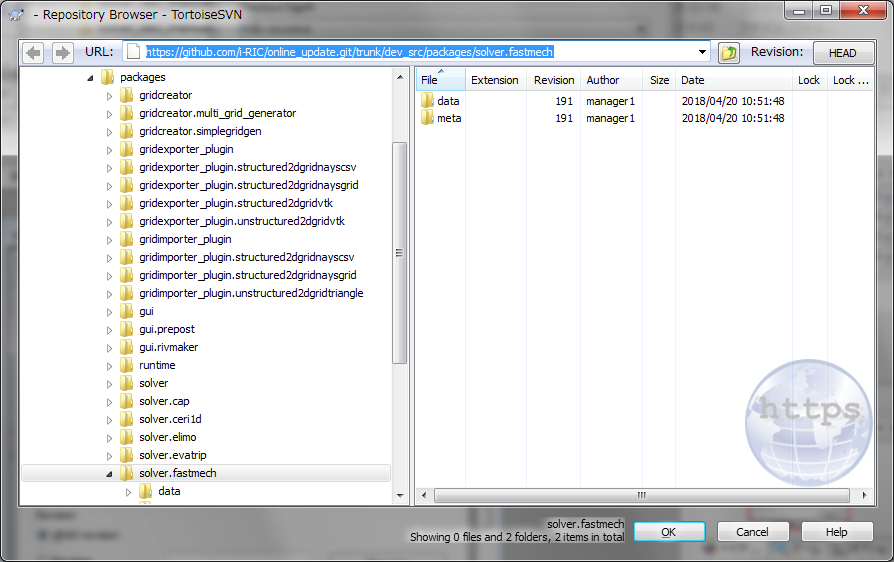
Figure 76 The dialog to checkout files (select folder)
In this dialog, please select the folder that stores the files for the solver you want to update (In this case “solver.fastmech”), and click on [OK]. Then, the [リポジトリのURL] is updated.
On the dialog Figure 75, please check again that 「リポジトリのURL」and 「チェックアウト先のディレクトリ」are set up correctly, and then click on [OK].
Then the dialog like Figure 77 is shown, and it starts downloading files from the server.
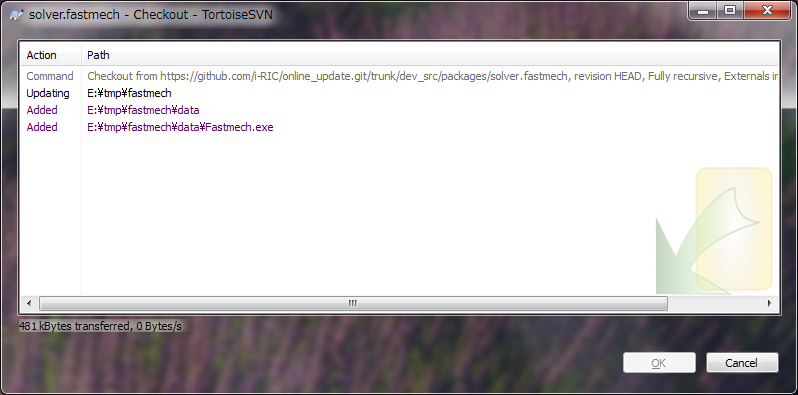
Figure 77 File checkout progress dialog
When downloading files finishes, explorer looks like in Figure 78. You’ll notice that the files checked out from the server is shown with check mark icon.
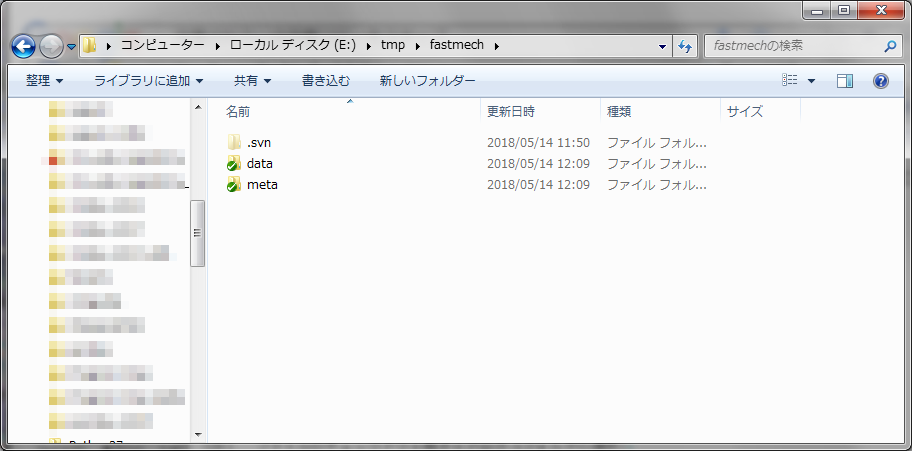
Figure 78 The example of explorer to show files checked out from server
Copy new files
Copy new files that you want to bundle to installer, to the folder you’ve checked out in the step above.
When you copy files, The icon next to each files will be like below:
Files that are overwritten is shown with an icon mark [!].
Files that are copyed as new files is shown without an additional icon mark.
To copy files added as new files to the server, select the file, and select the file below from the right-clicking menu:
TortoiseSVN –> Add
After you do the step above, the file will be shown with an icon mark [+].
Figure 79 shows an example of explorer after overwriting “Fastmech.exe”, and adding “newdll.dll”.
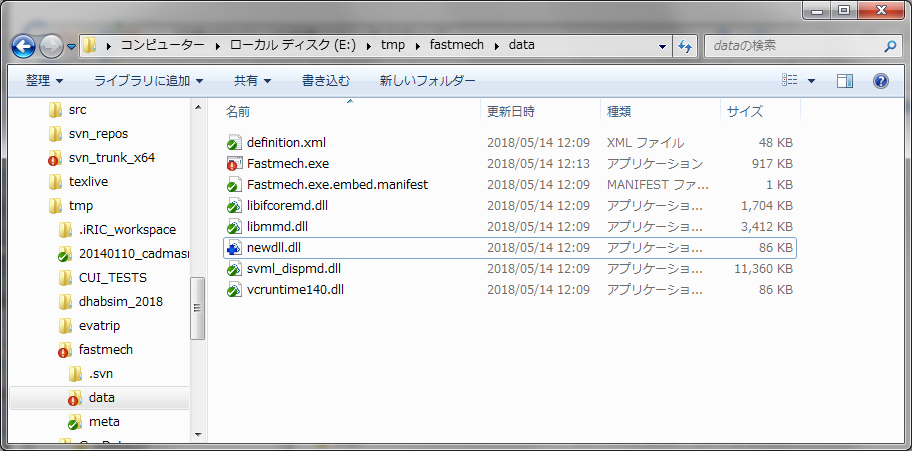
Figure 79 The example of explorer to after copying files
Warning
When you update solver, you have to update not only the exolver executable files, but also definition.xml, to update the value of version number. This is because [iRIC maintainance] can not recognize that the solver is updated, if the version number is the same.
The version number you have to update is stored as version attribute of SolverDefinition element in definition.xml.
Register new files to server (commit)
Register the new files to server.
Select the folder in which you’ve registered new files, and select the menu below, from right-clicking menu:
SVN Commit
Then the dialog in Figure 80 is shown.

Figure 80 The dialog to commit new files
Make sure that the files you want to update or add are shown with check boxes checked, Add log message about the update, and click on [OK].
The dialog in Figure 81 will be shown. Please input the Username and Password, and click on [OK].
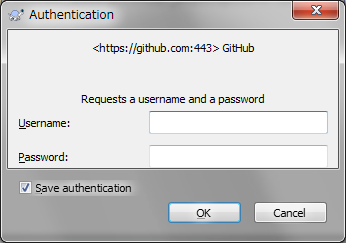
Figure 81 [Authentication] dialog
Please contact the adninistrator of iRIC, to know the username and password.